The aluminium bubble wrap spaceship
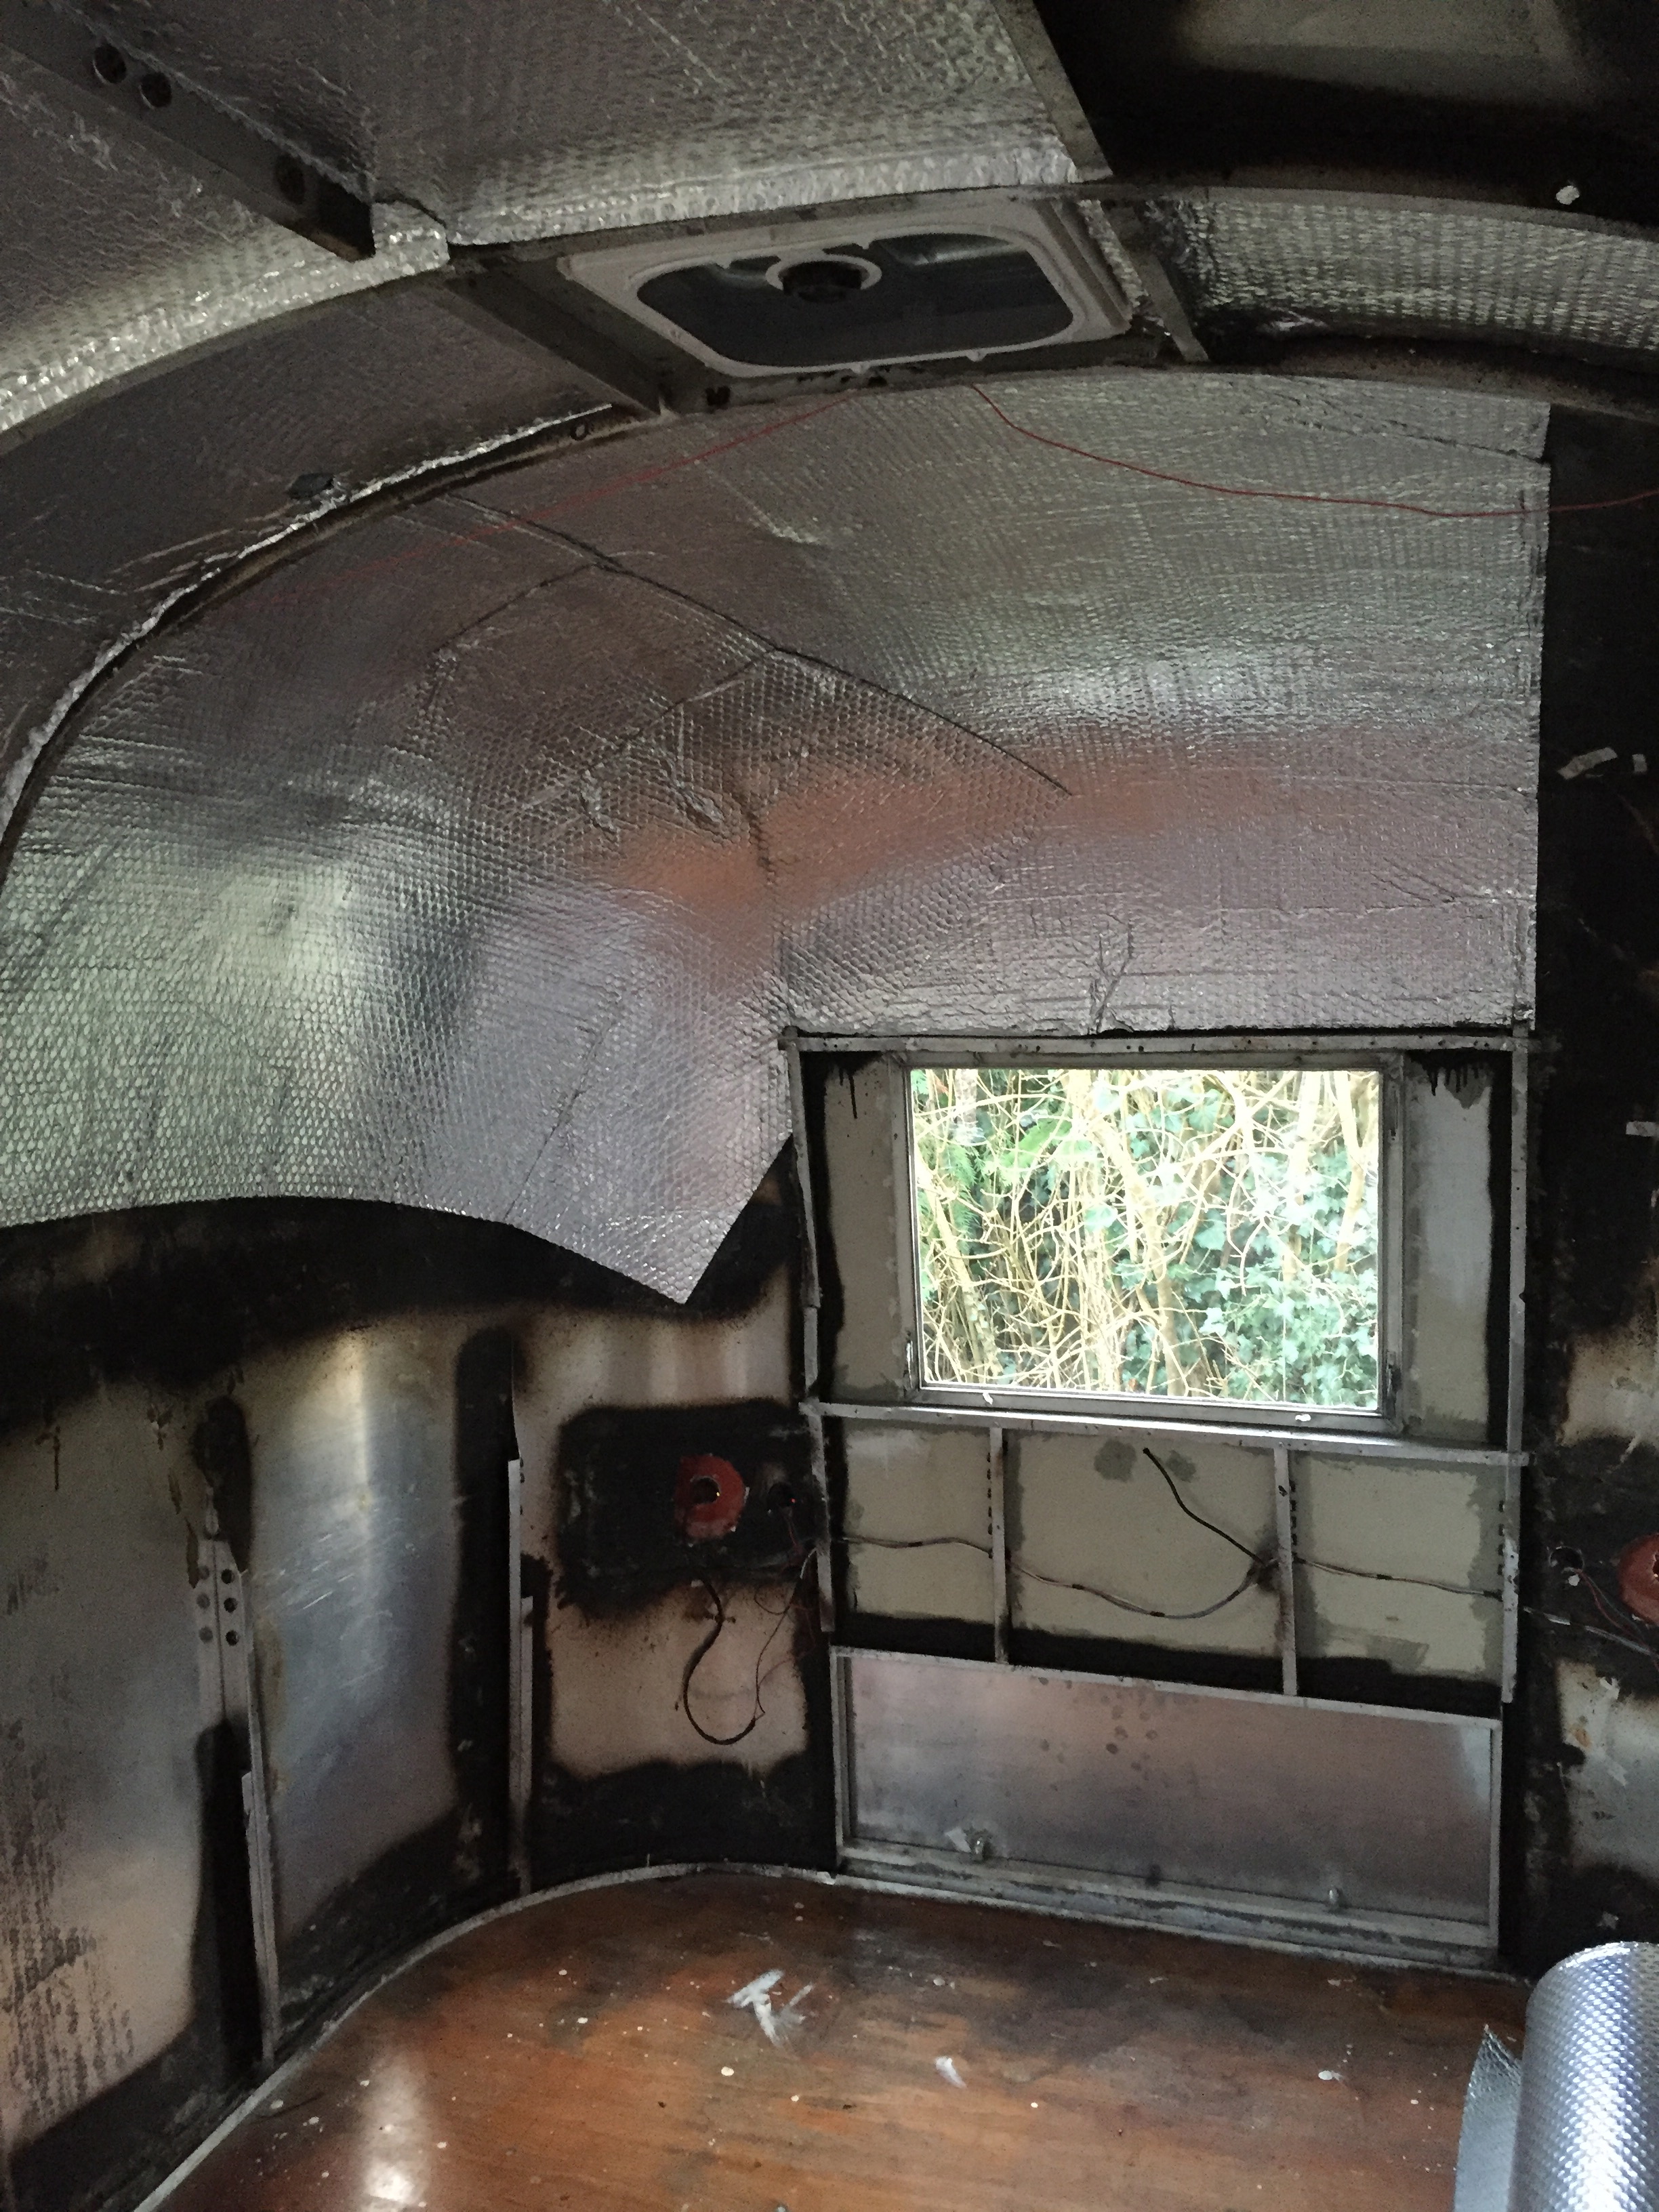
So Wander the Airstream has progressed a great deal since my last update. I have had to complete alot of external repairs to the skin from years of previous owners bodge jobs.
After a great deal of work the body and windows are now watertight. Believe me doing these repairs in the English winter outside was NOT fun!!! Now however we can move on inside. Time to warm the old girl up.
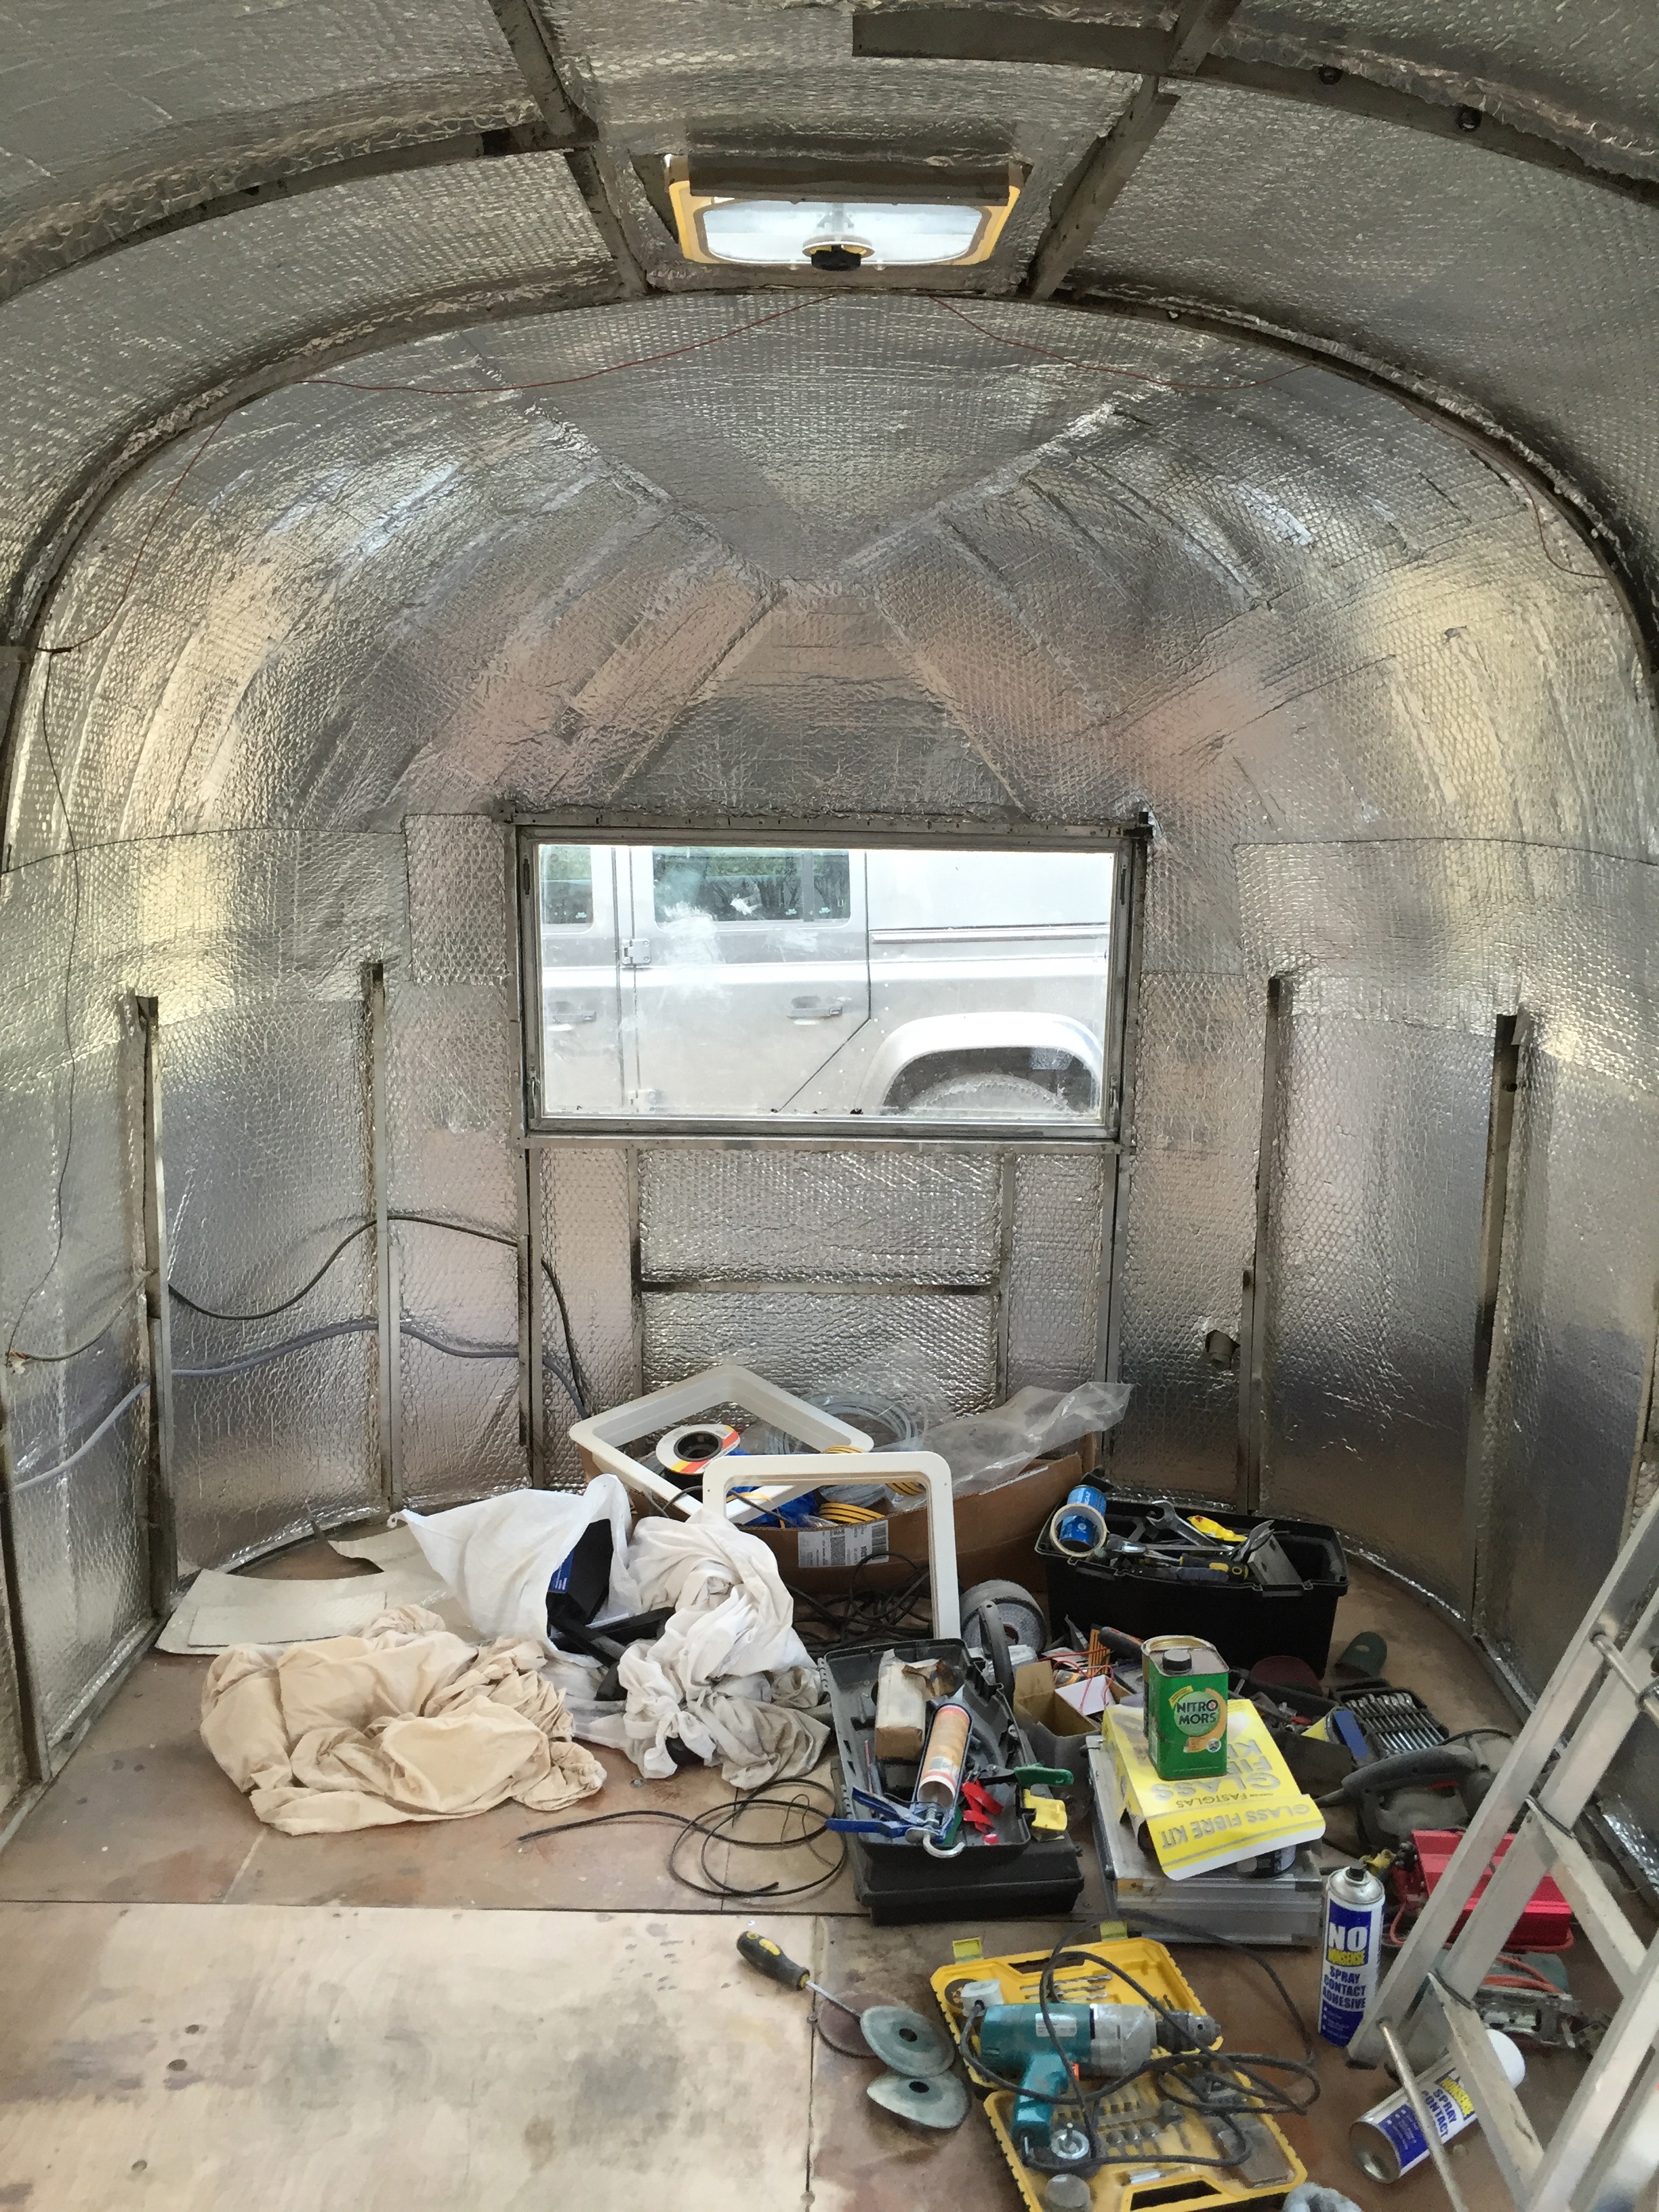
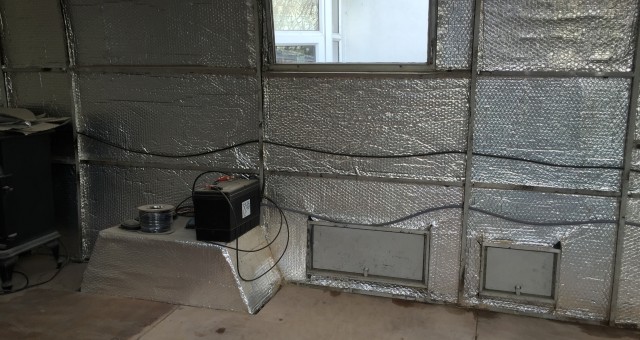
After fully sealing the shell from the inside, next is the insulation before moving on to the main wiring (running light wiring remained in place).
There was a couple of choices for insulation, spray foam or foil bubble wrap and fiber glass. Both are lightwieght, but after that they are very different.
Spray foam is used a great deal in the building trade and I have seen main Airstream resorted using this. However it does have a couple of problems. Spray foam is expensive in the UK, and this was one of my first considerations. Once the foam is sprayed it’s on for life unless you use messy solvents to melt it away. Spray foam also degrades over the years. This I thought would be speeded up with the movement and twisting in the body on the road.
A great deal of van to campervan conversions now use modern Foil Bubble insulation. This product is very easy to cut and handle, coming on 25m roll x 1m in my case. I used vehicle interior high temperature spray adhesive to stick this to the interior cavities (see below).
Once all the foil bubble insulation was in place, I covered all seams in foil tape. Even while doing this with the temp outside very low, I really felt the difference inside. I have since put a complete second layer throughout totalling about 10mm thick. This still leaves room for wiring etc to be run between the skins.